How to Build a Fire Ring that Won’t Burn Your House Down
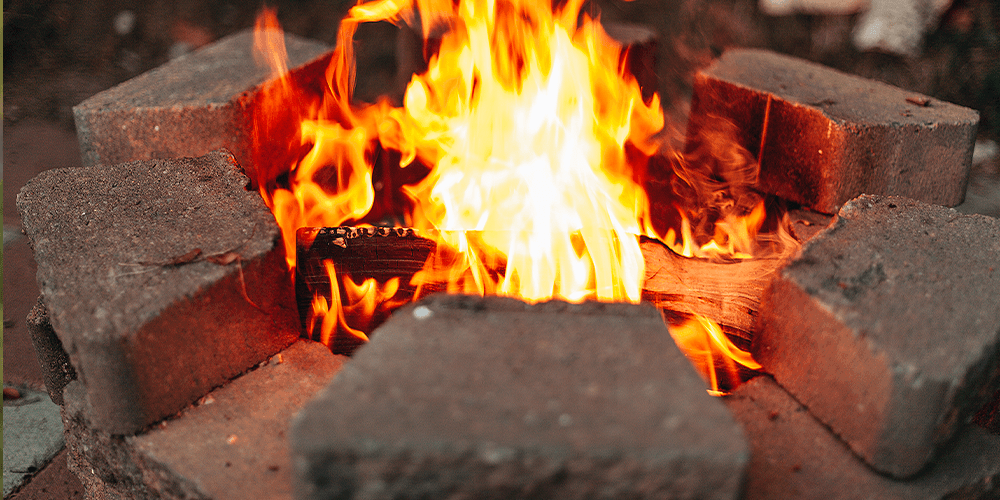
Backyard parties and barbecues will never be the same after installing a fire ring! Sitting around a fire with friends and family is just part of human nature—it brings people together and creates such an amazing ambiance. Want to build your own DIY fire ring without burning down the neighborhood? Here’s how you can build your own in one afternoon, or you can pick up some fire ring alternatives from Dees’ Nursery for easy assembly.
Our kiln-dried firewood burns so beautifully, so visit our shop to stock up on all the wood you need for a summer of endless campfire parties!
Building a DIY Fire Ring Safely
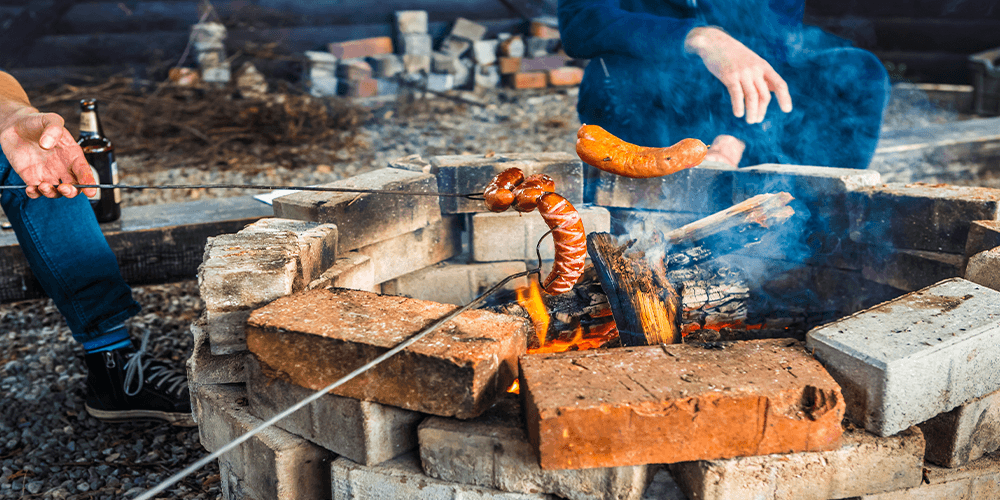
It should only take about three hours to build this fire ring yourself. Before you know it, you’ll be roasting hotdogs, toasting marshmallows, and listening to your cousin’s questionable rendition of “Wonderwall” on the acoustic guitar.
 DIY Fire Ring Supplies:
Here’s everything you need to make a DIY fire ring:
- Paver Bricks
- Garden Spade
- Hand Tamper
- Rubber Mallet
- Leveling Sand
- Grass Marking Paint
- Crushed Gravel
- Fire Pit Bowl
If you’re building a square fire ring, you can use rectangular bricks or different sizes and get creative with the layout. However, if you want to build a circular ring, you’ll need trapezoidal bricks that are all the same size.
Safety Tip: Be mindful of where you place your fire ring. A good rule of thumb is to keep it at least 10 feet away from any buildings or fences. Make sure you don’t place it under a leafy tree canopy—fires can get pretty tall, and you don’t want any sparks to ignite your beautiful trees!
 Fire Ring Assembly Instructions:
Once you’ve picked your location for your fire ring, you can get started on assembly! Here’s how to put it together:
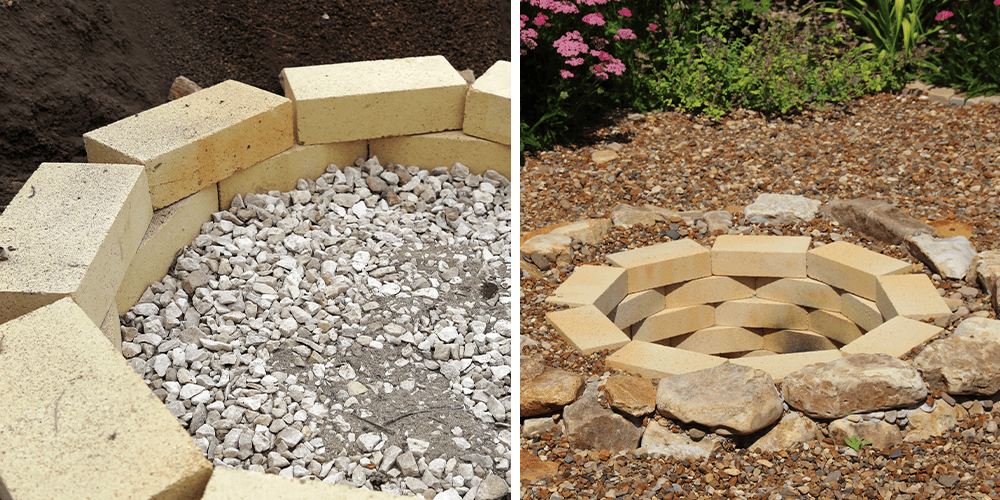
- Assemble one layer of bricks on the grass where you plan to put your fire pit. Make an outline around the bricks with grass marking paint, then remove the bricks.
- Use your spade and dig a hole seven inches deep into the outline you just created. As you dig, make sure the hole is level, and the sides are even.
- Pack the dirt down with your hand tamper, so it’s smooth, compacted, and sturdy.
- Pour a three-inch layer of gravel into the hole, add water with the hose, then use your hand tamper to squish it down. Remember to keep it level!
- Lay down your first layer of paver bricks. If they aren’t sitting evenly, you can hit the taller bricks with your rubber mallet or raise the shorter bricks with some leveling sand.
- Assemble the second layer of bricks temporarily, making sure to stagger the joints between rows. Once they’re in place, check to see that your pit bowl fits on top. If it fits, you can start gluing the bricks in place. If it isn’t fitting, make the necessary adjustments to the layout of your bricks and fill in any gaps with leveling sand if necessary.
- Keep assembling levels of bricks and gluing them into place. Use your rubber mallet to help even them out. With each layer, test to see that the pit bowl fits properly. Once you’ve got four layers of bricks, you’re good to go!
Check the adhesive package to see how long it needs to dry properly. If you immediately light a fire in the ring, the adhesive won’t be ready to handle that heat, so you’ll need to wait anywhere from 2 to 7 days, depending on the product.
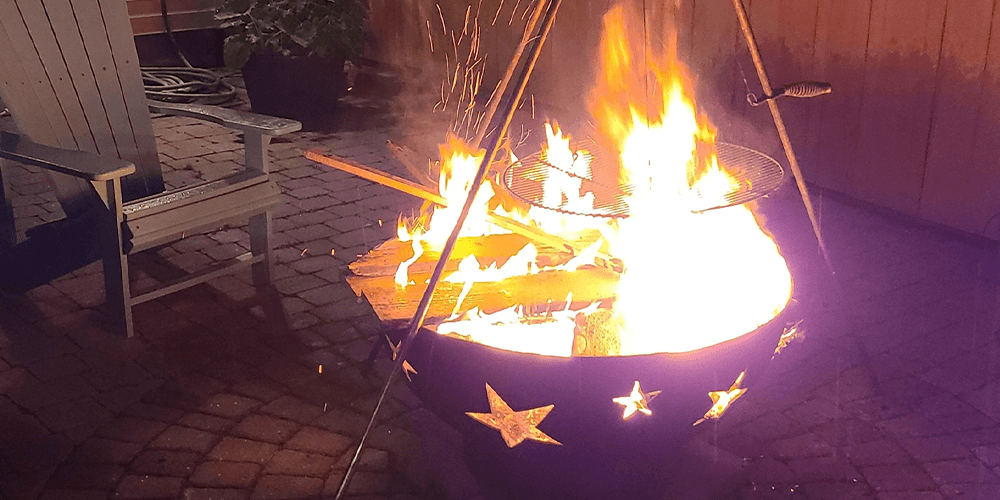 Not Into the DIY Thing? Purchase a Fire Pit Kit for Quick Assembly
Dees’ Nursery has plenty of pretty fire pit kits for safe and easy assembly and stylish chimeneas if you’d prefer a covered fire. Visit us on Long Island to explore all the different options we carry to suit your space and budget, plus plenty of campfire equipment and accessories to maximize the fun!