
Time to Make Some (Plant) Babies: A Guide to Seed Starting
So, you’re trying to make some plant babies but don’t know where to start. Perfect! We have all the info you’ll need to confidently pick the right seeds for you, gather your necessary supplies, and start pumping out those seedlings. A seed, after all, has the potential to become anything it wants to be–so long as those things are food, flowers, or herbs–and so they deserve as much love and nourishment as you can give them. Here is the Dees’ guide to seed starting, to help you prepare strong, healthy plants that’ll be ready to go outdoors next month.
How to Start Seeds in Oceanside, NY
If you’re ready to get this season’s seeds started, the first thing you’ll need to remember is to keep them indoors until the last frost of spring, which in Oceanside is usually around mid-April. Other than that, follow these steps to help your little seedlings thrive in their indoor safe spaces until they’re big enough to brave the great outdoors:
 Step 1: Get Your Soil
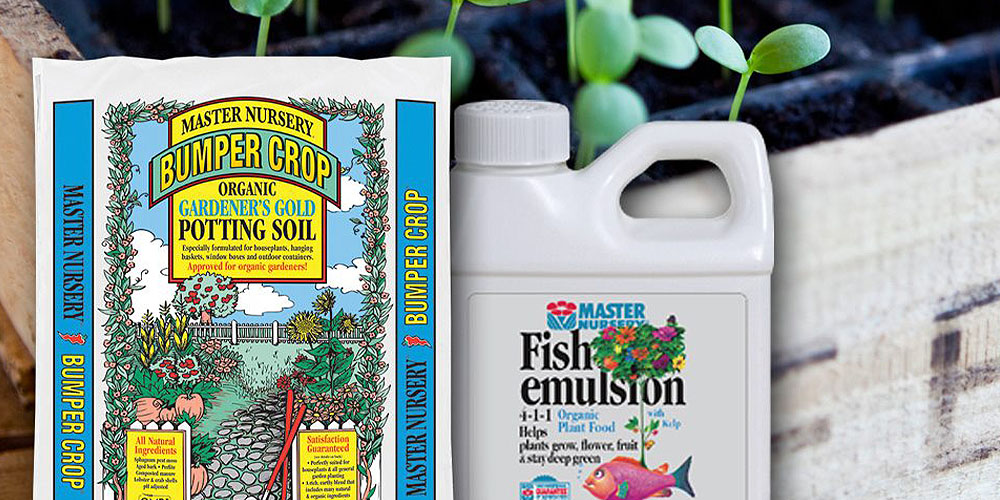
Your little bundles of seedy joy have very particular tastes and aren’t going to be satisfied with just any old dirt, so we recommend getting a good quality seed starting mix. Seed starting mix is much more sterile than your average potting soil, which will help your new growers avoid any nasty diseases. Although seed starting mix has a lower nutrient content than your average soil, don’t worry: you still won’t need to add any fertilizer until you start seeing some new growth. We recommend Gardener’s Gold Organic Potting Soil and a jug of Master Nursery Fish Emulsion.
Step 2: Get Your Containers
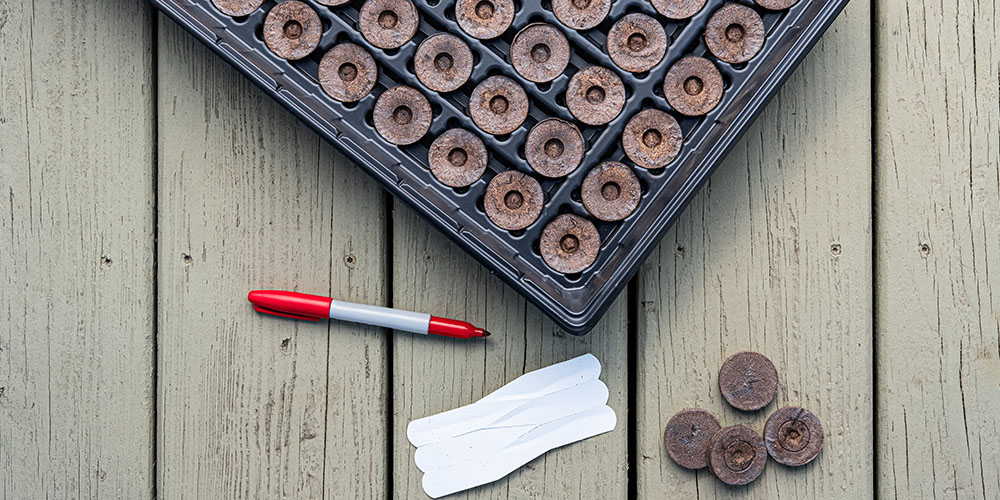
If you’re not sure how to start your seeds in containers, that’s ok! After all, it’s our job to guide you in the right direction. Once you have your good quality seed starting mix, you’ll want to gather some containers that are well-suited to house your plant babies during their infancy. While you can purchase seed starting trays, you can start seeds in just about anything that’s at least 2″ deep with good drainage. Some common upcycling ideas include old yogurt cups, aluminum pans, or clamshell produce containers.
 Step 3: Location, Location, Location!
Make sure you give your seeds the right foundation for a healthy start by providing them with a safe, nourishing environment, just as soon-to-be parents go the extra mile when preparing a baby nursery. While you won’t need to paint monkeys on the wall for your plant babies, you will need to include these core elements to guide their growth:
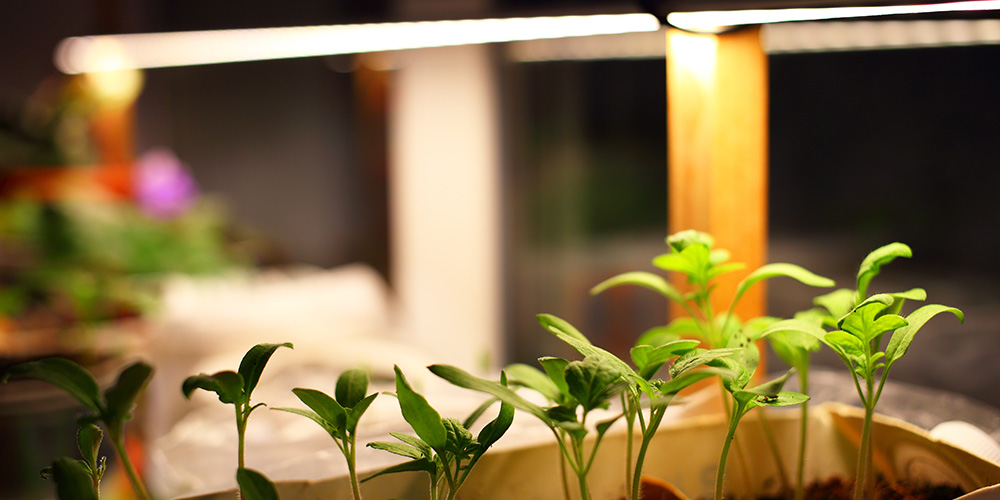
- Light: Seeds need a ton of light to get going, roughly 14 or more hours per day. However, because many of us start seeds indoors during the tail end of winter, no such light naturally exists. Even a south-facing window won’t often provide enough light for seeds, and it’s usually a bit chilly there, too. If you do get growth with a south-facing window, it tends to be much leggier, with stems reaching for light. To avoid these pitfalls, we recommend using designated grow lights to ensure your seedlings receive enough light to kickstart their growth and maintain good health.
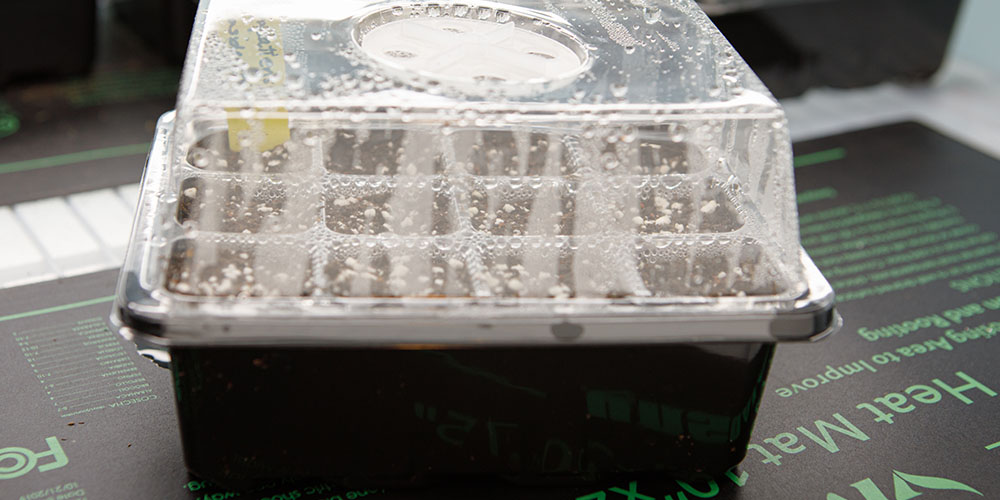
- Humidity: Maintaining adequate indoor humidity levels is another tough but necessary condition to meet for proper winter seed starting. Seeds germinate most successfully with a relative humidity rate of 95%; however, considering most Oceanside homes sit at around 40% humidity during the winter, using a humidity dome is likely your best option, unless you’re wanting to turn your house into a full-size steam room. Remember, though, that seeds only need this trapped humidity until they germinate. After that, give them plenty of airflow.
- Temperature: Most seeds need to remain relatively warm while they germinate, and if you’re new to starting seeds, this might be tricky. Luckily, there are easy ways to keep your seeds cozy and warm indoors, such as by using a heating mat underneath your seed tray or placing them directly on top of your fridge.
How to Start Seeds with Starter Kits
Seed starter kits contain all the essentials for a superior seed germination experience, making them a great option for seed-starting newbies. Many pre-made kits come with a heating mat and lamp to help give your seeds steady, proper heat and light levels, making them ideal for first-time growers without any bright windowsill space or proper indoor humidity levels. These domed kits are also stellar if you have nosy cats, as they’ll keep your seedlings safe from furry little nibblers.
 When Should I Start My Seeds Indoors in Oceanside?
Knowing when to start your seeds is crucial: if you start them too late, they might not grow big enough before harvest season. Starting seeds too early, however, might mean they outgrow their trays while it’s still too cold outside to safely transition them outside. The best way to figure out the perfect time to start your seeds is to read the seed-starting instructions on the back of your seed packet and then work back from the final frost date, typically April 15th in Oceanside. Some seeds will take longer to start than others, so working back using their specific seed-starting instructions is crucial!
If you’d like more expert advice to help you figure out how to start seeds in Oceanside, NY, come on by The Dees’ Nursery & Florist, and we’ll be more than happy to get you started. Making babies (plant babies, that is) is one of our favorite things to do!